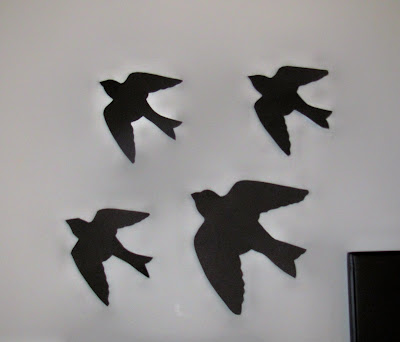

You know those awkward bare corners of your home that you're not quite sure what to do with?? In our home we have one of those such corners between our wall unit, media tower and staircase. It had been driving me slightly mad for months. My sister-in-law generously gifted me the frame and subway art shown above at my recent bridal shower. I wanted to add something just a little more to give that corner some extra pop. I recently found some flying sparrow wall art pieces online that caught my eye for $39.99. With a little crafty ingenuity I recreated the look with some commonly found craft supplies...for free!!
What You'll Need
- Access to a printer and printer paper
- Scissors
- Black cardstock
- Pencil or pen
- 3d glue pop dots
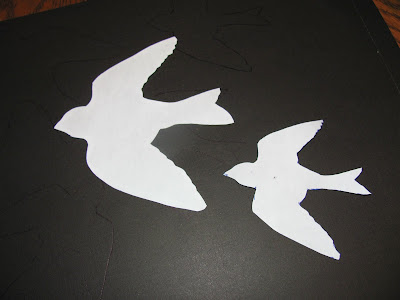
1. Do a google search for the shape you are looking for. We searched for sparrow silhouette. Save the image to your computer. Copy the saved image and paste into microsoft word. Adjust the size of the image until you are satisfied. We printed 2 separate sizes for our wall art.
2. Cut out the printed silhouettes, these will be your templates. Place your templates over the cardstock (we used a textured variety) and draw around the template to recreate the shapes on the cardstock. Make as many shapes as you need.

3. Cut out each shape from the cardstock carefully. Attach a 3d glue pop dot to the back of each shape. Stick your shapes wherever you would like.
Swoon!! I loooove the finished product. Now onto another project...pregnancy hormones have me in decorating over drive!!


No comments:
Post a Comment